

Footwork For Spiking A Volleyball: Technique, Drills, Errors
Spiking footwork is the biggest factor in determining what separates a good spike from a great one. Footwork is essential to connecting the different parts of your spike together, but it can be hard to identify the proper technique and what to improve.
So, what is the proper footwork for spiking? Proper spiking footwork includes using an approach – either a three or four step sequence – positioning your body behind the ball, jumping forward or through the ball, and landing safely with a balanced stance on the “friendly” side of the net. This is essential not only for technique, but also for keeping you safe.
Today, I’m going to be breaking down the ins and outs of spiking footwork and explaining the steps towards becoming a better player. By the end of this article, you should be able to:
- Understand the approach footwork and why we use it
- Know the difference between footwork for beach and indoor spiking
- Identify a few common mistakes in spiking footwork
- Run several drills to help you improve movement
Proper Spiking Footwork

The proper footwork for spiking can be broken down into four simple steps:
- Using an approach sequence
- Position your body behind the ball
- Move through the ball
- Land safely
Although your footwork might excel in three of these four areas, it may be the last one that is limiting your spiking potential.
Let’s break down each part and take a look at the elements that go into it and why each is considered essential.
1. Using an Approach Sequence
The most commonly discussed area of footwork for spiking is the approach sequence (or steps). This is what most people usually think of when mentioning footwork for spiking, and forms the basis of our movement for the action.
The standard approach is called the “three-step approach” and consists of one medium (priming) step, one large (accelerating) step, and a short (stopping) step from which the player jumps off both feet into the air.
Together, these three steps generate power and stability for a spiker.
Notes For Right-Handed Players
If hitting as a right-handed spiker, the first (priming) step is typically taken on the left foot, followed by the right (accelerating) step, and finishing with the left (stopping) before jumping.
This positions the body at the perfect angle to allow the right shoulder and arm to contact the ball at its optimum height and generate the most power.
Notes For Left Handed Players
For left-handed hitters, the sequence is reversed by starting with a right step forward (priming), followed by the left (accelerating) step, and finishing with the right (stopping) before jumping.
In this case, the footwork opens up the left side of the body to hit and provides the most benefits.
Practical Application
Practice this footwork by itself before adding a ball, and find how the steps affect the distance you travel and the height you jump. Knowing both is important to properly time the beginning of your approach in order to contact the ball perfectly.
2. Position Your Body Behind the Ball
The next step is positioning your body behind the ball. This is important because this allows you as the spiker not only to see what you’re hitting, but move your body in a way that is complementary to do so.
Every hitter has a “sweet spot” – the perfect window of space slightly above and in front of our bodies for spiking.
When you approach from too far away from the ball, whether to the side, forward, or back, it isn’t centered inside our “sweet spot” and makes it extremely difficult to hit.
To remedy this, center yourself to approach where your body will remain in line with the ball and you will hit from behind it.
Additionally, from a body mechanics perspective, not having your body behind the ball can cause your muscles to over-extend, resulting in injury if done long enough. Keep your footwork clean and tight, and you’ll find much greater success.
3. Move Through the Ball
Having positioned your body behind the ball and using your three-step approach, it’s important to remember to continue moving through the ball.
For spiking, much of the power is generated by our footwork, and keeping everything moving forward allows us to add momentum to our spikes.
Although the last step in your approach is called the “stopping” step, you still want to be jumping slightly forward.
The idea of the stopping step is to convert the forward momentum into upward energy and increase the height of our jump, but reducing the forward momentum by too much will completely negate the benefits of the three-step approach.
4. Land Safely
Landing safely might seem obvious, but it’s a key part of footwork for spiking. Everything from the movement before the approach to how we move after landing is part of spiking footwork, and being safe is incredibly important.
After jumping forward, moving through the ball, you want to ideally land on both feet on the same (friendly) side of the net. This will prevent you from entangling your legs with those of the opposing team’s blockers or even worse – breaking your ankle by landing on another player’s foot.
Jumping off of two feet and moving forward will help you maintain balance even in midair, and will allow you to land softly and in control at the end of your spike. From there, check the state of the game and where you’re needed – usually to block – and move efficiently into your next role.
3 Step vs 4 Step Approach: When To Use
While the standard approach sequence uses three steps, there is also a four step variant.
This was first used successfully at high levels by Cuban players who popularized it, and therefore is sometimes called the “Cuban Approach”.
Here are a few differences between the approaches and their benefits.
Three-Step Approach
The three-step approach is the most widely used and “standardized” approach, whose main benefit is that it is compact. It generates a lot of power, speed, and safety from the amount of space it works with, and is easier to keep track of for new players learning the ropes.
The steps for this approach are medium-large-quick.
Additionally, it is faster to execute than the four-step approach and does not punish players as severely for misjudging timings. Always a good approach to use, and the best variant to learn the footwork for spiking with.
Four-Step Approach (The Cuban Approach)
The four-step approach or “Cuban Approach” feels very different from its standardized variant but has many of the same elements.
For this version, the spiker takes an additional medium step – starting with the right for right handed players or left for left handed players – and then moving through the motions of the three-step approach. From there, the positioning, spiking, and landing function exactly the same.
The steps for this approach are: medium-medium-large-quick.
The main benefit of the Cuban Approach is that it allows spikers to generate even more momentum and power. It requires perfect judgement of the set, however, and takes up far more space to execute with the additional large step.
When executed correctly, this approach can lead to insane vertical jumps and incredibly powerful swings, but requires a lot of practice and experience to pull off compared to the three-step approach.
Differences In Footwork For Beach Volleyball
Beach volleyball is a totally different footwork game. The sand slows you down, there are no shoes to give you extra grip or padding, and the court is a totally different size. For spiking in beach volleyball, it’s also different.
Instead of lengthy momentum-charging approaches like indoor volleyball uses, beach uses short, positioning-based approaches instead. The most common of these is the two-step approach.
The two-step approach consists of the last two steps in the standard three-step approach: the large (accelerating) step followed by the quick (stopping) step.
For right handed hitters, this is executed with the right foot followed by the left, while for left handed hitters the left is followed by the right.
The idea behind this approach is that the power-generating large step can still be taken without losing your footing with a longer approach, and stabilized by the short stopping step from which you jump.
Beach requires a lot of small, precise footwork movements on the unstable, sandy surface of its court, and longer approaches are both slower and less movement efficient.
The other components of spiking footwork still apply, however. Remember to position your body behind the ball, move through the ball, and land safely when spiking on the beach, and always be ready to transition back and defend!
7 Common Spiking Footwork Mistakes & How To Correct
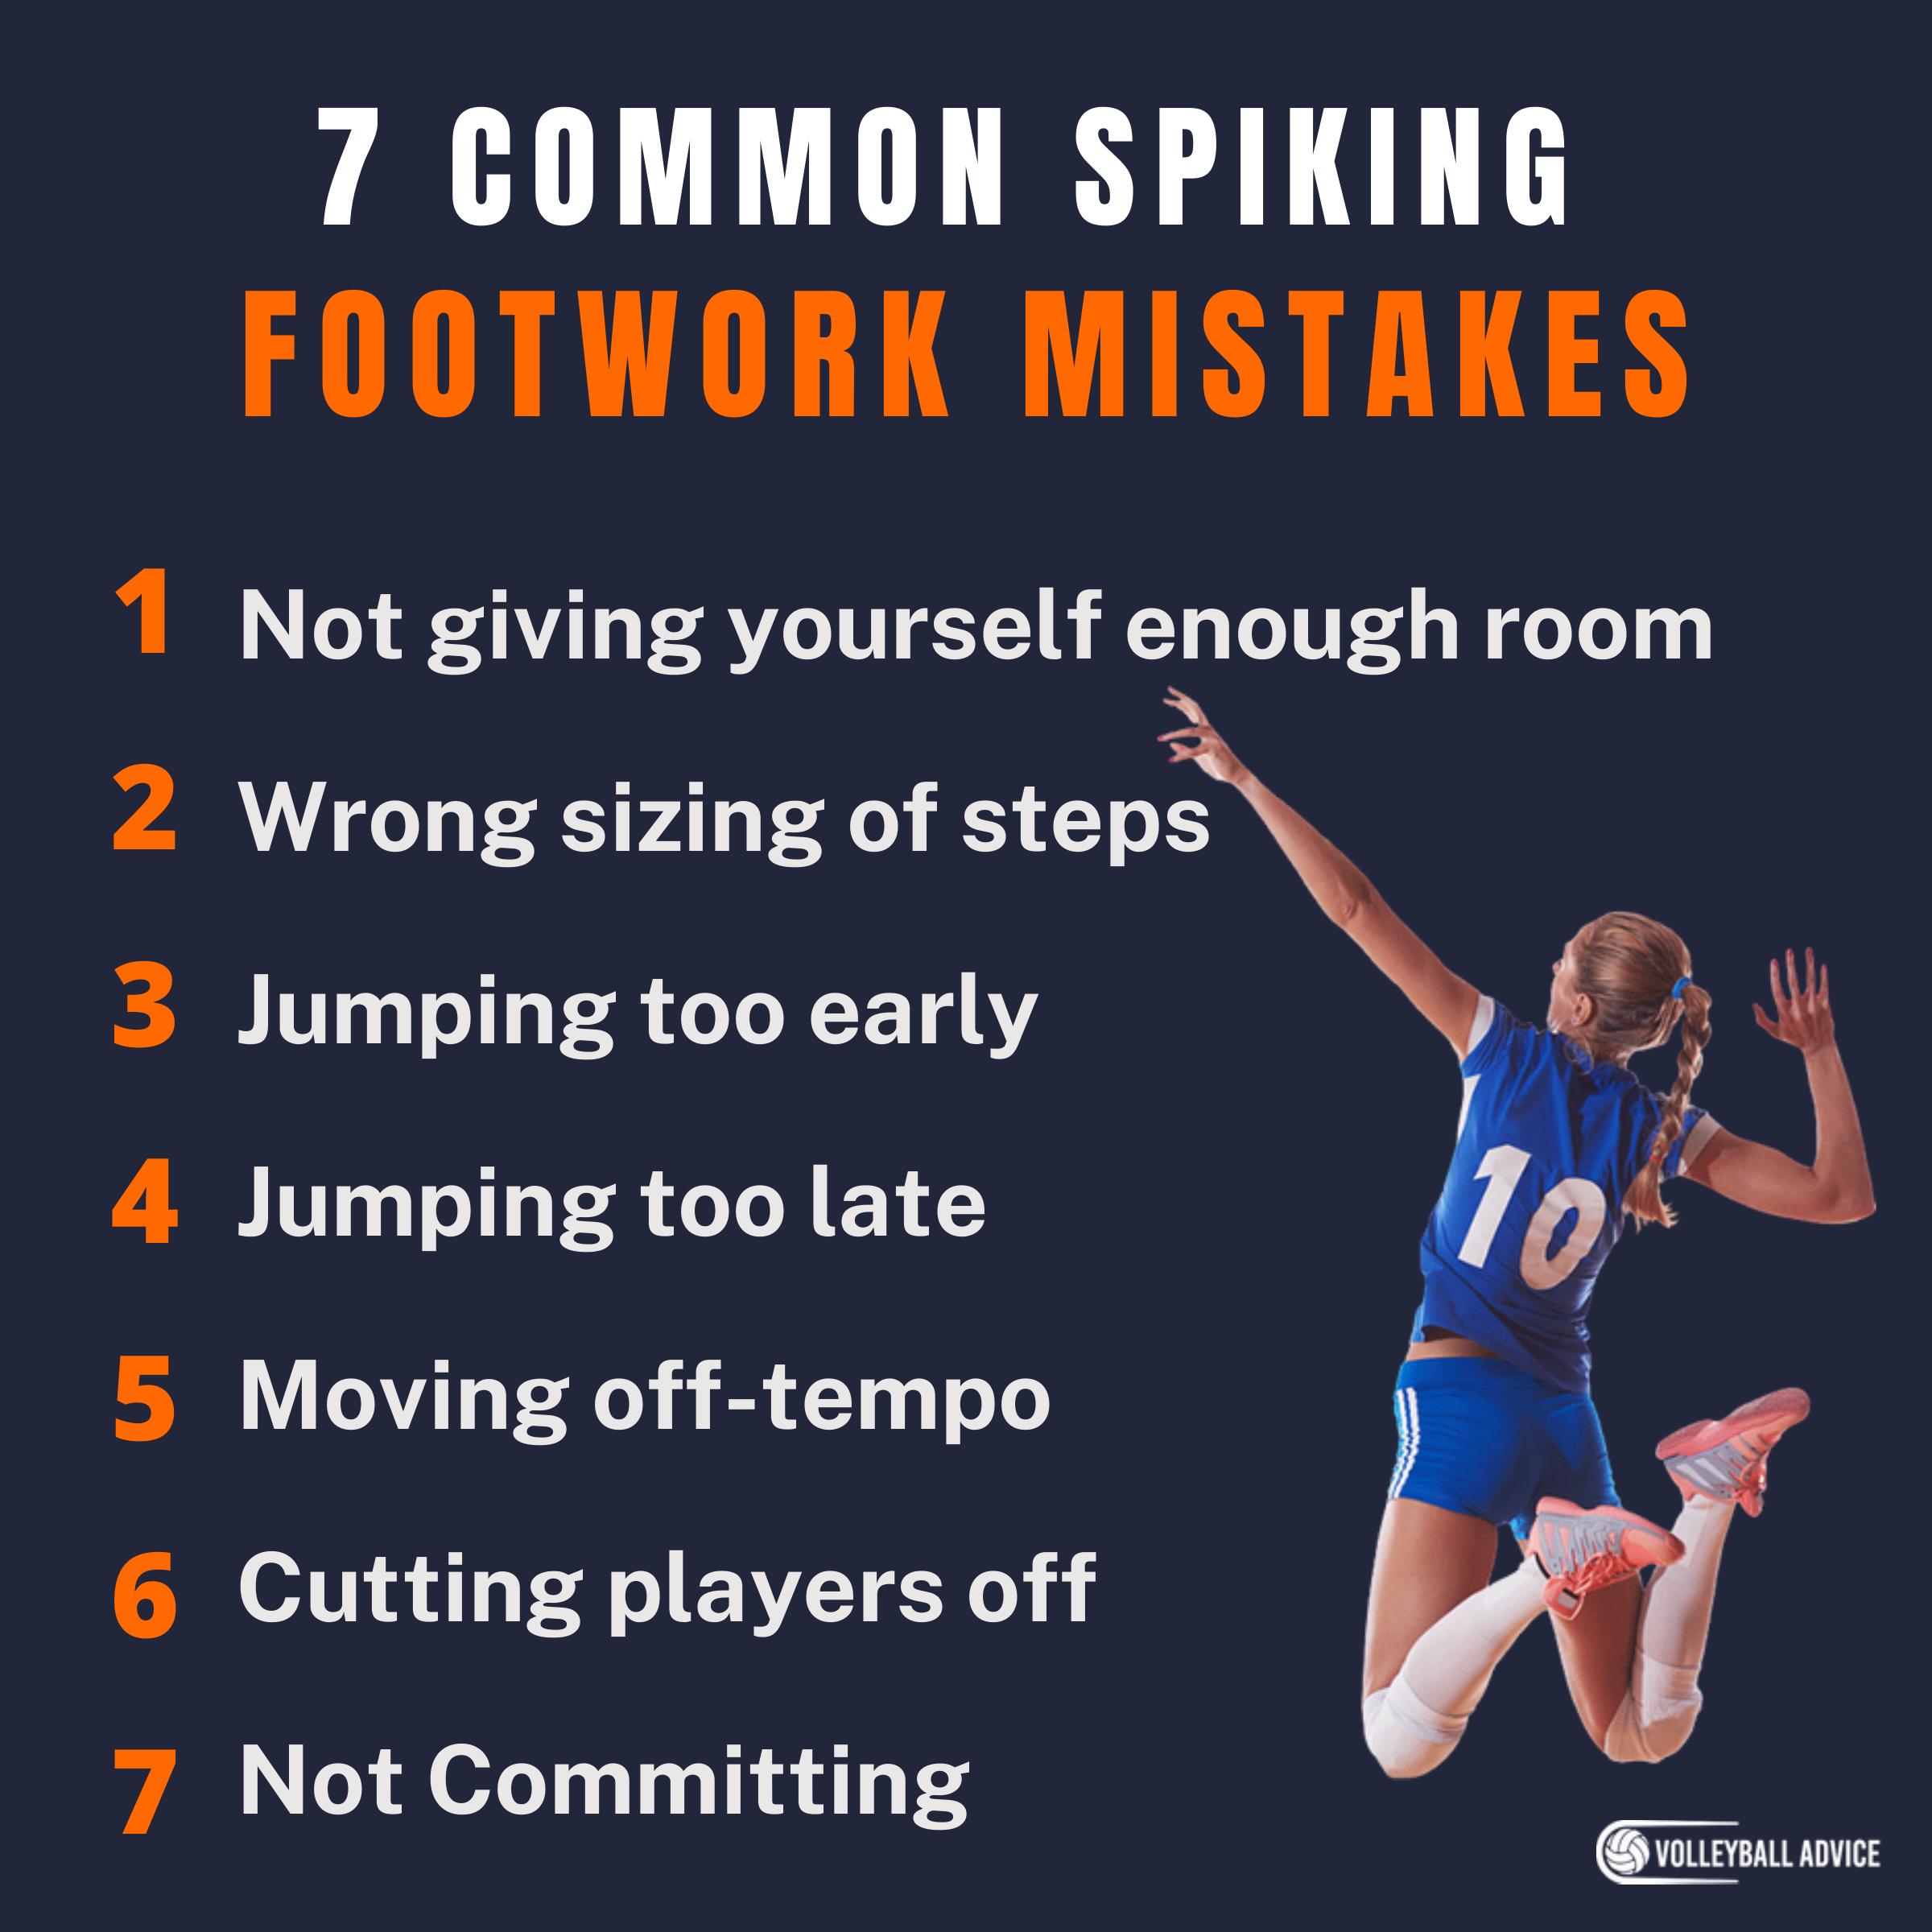
1. Not Giving Yourself Enough Room
The most common mistake for spiking footwork is not giving yourself enough room, resulting in stepping past where you were meant to jump and ending up having to jump backwards to try to salvage the spike.
To correct this, find the amount of space you need and drill the approach without a ball until you can easily understand the distance you will travel.
Experiment with jumping from farther back but jumping more forward, and see how it affects your spiking power. Remember: it’s easier to jump forwards than back, and much easier to hit.
2. Wrong Sizing of Steps
The second most common mistake for spiking footwork is using the wrong sizing of steps. Typically, this is when spikers start using another large step at the end instead of the short (stopping) step. This unbalances them, limits their jumping power, and can lead to injury.
Similarly, taking two short steps for the priming and accelerating steps of the three-step approach is inefficient.
To correct this, practice your approach without a ball – with hoops spaced the correct distance of steps apart, if needed. Get used to the feeling of what the steps should feel like, and remain balances throughout the entire exercise.
3. Jumping Too Early
Jumping too early is a common problem that stems from nervousness.
Take a breath, wait for the set to reach its apex (or other point of reference for your position), and flow into your approach.
4. Jumping Too Late
Jumping too late is a problem that comes from tiredness or not paying attention.
To solve this, either take a break from spiking and let your legs recharge, or pay more attention to your setter and how they deliver you the ball. If you still can’t find the “sweet spot”, take a water break and try again; you’re likely more tired than you realize.
5. Moving Off-Tempo
Moving off-tempo is when the spiker completes their approach at a different time than the setter sets the ball and has to pause before jumping in order to hit correctly. This sacrifices the benefits of an approach and can reduce your setter’s confidence in your abilities, unfair or otherwise.
The solution to this problem is usually just better communication. It’s likely that one of you misunderstood the call which resulted in the mix-up. Bring it in, break it down, and give it another go.
6. Cutting Players Off
This mistake is usually done by inexperienced players, but can be extremely dangerous.
Whether your footwork for spiking is correct or not, never cut off another player. As the other player is also usually approaching to spike, this can lead to collisions – midair or otherwise – and in the worst cases can result in both players needing to be subbed off for injuries.
To correct this, be more aware of your surroundings. Awareness is a key skill to become better at volleyball, and even if you’re in the right it’s better not chancing it.
7. Not Committing
The last footwork mistake is not committing.
This includes both the footwork and the jump, which stems from it. Take every step with intention and resolve to make the next spike perfect, and jump to your highest height each time, every time.
Confidence is contagious, my coach always said. When you step out onto court, be confident in your skills, and your footwork should reflect that. Brush off mistakes: big deal, they happen. Move like you want the ball, transition with desire, and approach with intent.
Other Spiking Resources
- 16 Types Of Spiking In Volleyball
- How To Spike A Volleyball If You’re Short
- How To Spike A Volleyball Straight Down
- How To Practice Spiking A Volleyball With No Net (10 Drills)
- Hand Position for Spiking in Volleyball (Tips and Tricks)
Spiking Footwork Drills
As far as spiking footwork is concerned, there’s really only one drill that matters, and that’s the Approach Drill.
This drill consists of your simple approach towards the net and can be done whether with a ball, tosser, setter, or completely by yourself. It is best done on a volleyball court to train yourself to understand how the approach distance and movement works in relation with the court, but can be practiced anywhere with enough space to approach and jump safely.
For this drill, start as you would your normal three-step approach, with the right leg forward and left leg back for right-handed hitters, and opposite for left-handed hitters. Move through the steps slowly, then progress faster with intention as you practice. Try different angles and lengths of stride to find what works best for you.
If possible, add in a set so you can practice working with a ball. Work on getting behind it and in-line, moving through your jump as you hit the ball, and landing safely to transition off the net.
Once you’re built confidence, the next step is to put it in practice in a game, drills, or other form of gametime-practice. Experience is the best teacher, and the fastest way to improve is to practice with other players.
Other Footwork Resources
- Footwork For Setting A Volleyball: How-To, Tips, Drills
- Footwork For Serving A Volleyball: How-To, Tips, Drills
About The Author
Ailan Samuel is a writer and athlete who has played volleyball at the university, club, and national level since 2012. He has competed successfully in both beach and indoor competitions, resulting in four silver and two gold medals, and was awarded the Half-Blue while playing in Scotland. He received his MA in English and Medieval History from the University of St Andrews, Scotland, and is currently studying for his MA in Publishing and Creative Writing at Bournemouth University.