
Practicing Volleyball Serving Without A Net (Drills & Tips)
While volleyball is sometimes seen as a sport that requires specific equipment to play “properly”, in reality most of the skills in volleyball can be practiced anywhere – including serving.
So, how do you practice serving without a net? You can practice serving without a net with a ball and a wall, with a friend, or even doing visualization training alone in your room. If possible, try marking the top of the net to help find the right height to aim for. When practicing in your backyard, use a clothesline, or mark it with chalk on a wall.
While serving practice can absolutely be done usefully without a net, it’s worth remembering that the best place to practice is on a court. The spatial awareness that is learned while on court is irreplaceable, and there’s no better method to practice than to use the same thing you will be competing with.
If at all possible, stay after practice or check your local park to see if they have a beach court. As volleyball is becoming more popular as the years pass, I see increasing amounts of courts appearing in places I’d never expect. Maybe you’ll find some neighborhood heroes to play with too.
Today though, I’m going to just be breaking down how to practice serving without a net. By the end of this article, you should:
- Know some drills and exercises to help work on serving outside of practice
- Understand the limitations of not having a net and know how to work around them
- Begin using your imagination to elevate your solo training from decent to great
Can You Practice Volleyball Serving Without A Net?
Chances are, if you’re interested in how to practice without a net, you’re looking to improve.
The truth is you can develop skills far beyond the corners of the court if you want it badly enough. All I urge you to do is to make it count. Train seriously, even if it’s just you against the wall. Competing against yourself is the hardest sport out there, but if you can master it there’s no telling how far you’ll improve.
For a couple years, I had no access to any kind of court, nor did I know anyone who played volleyball. All I knew was that wherever I ended up, I was going to make the team.
I trained my serving outside, topspin serving basketballs against a wall, floating soccer balls into cones, and set everything from tennis balls to plastic chairs to strengthen my fingers.
When it comes to practicing serving without a net, the only limit is your imagination. If you want it badly enough, you’ll get better.
How To Develop Serving Skills With No Net (8 Useful Drills)
Now begins a section designed to aid in practicing serving through individual drills I’ve either adopted or created that train important serving skills and game knowledge and are directly transferable into matches.
Most of these drills may be visualized as being performed within a gym or other open space, but they all can just as easily be performed outside, whether in a field, forest, or your backyard. Find a space that works for you and that you’re comfortable working in – ideally one without many fragile objects like lamps or picture frames (sorry mom).
I even used to hike through the woods behind my house and serve at tree knots. This tested my accuracy and helped inform which way the ball would bounce if striking a random surface, both of which became useful skills for future matches.
The drills and skills I list below assume a baseline knowledge of how to serve, even if the serve technique itself is incomplete or imperfect. This is fine. The only technical note I will make right now is that right-handed servers should step through on their left foot, while left-handed servers use their right.
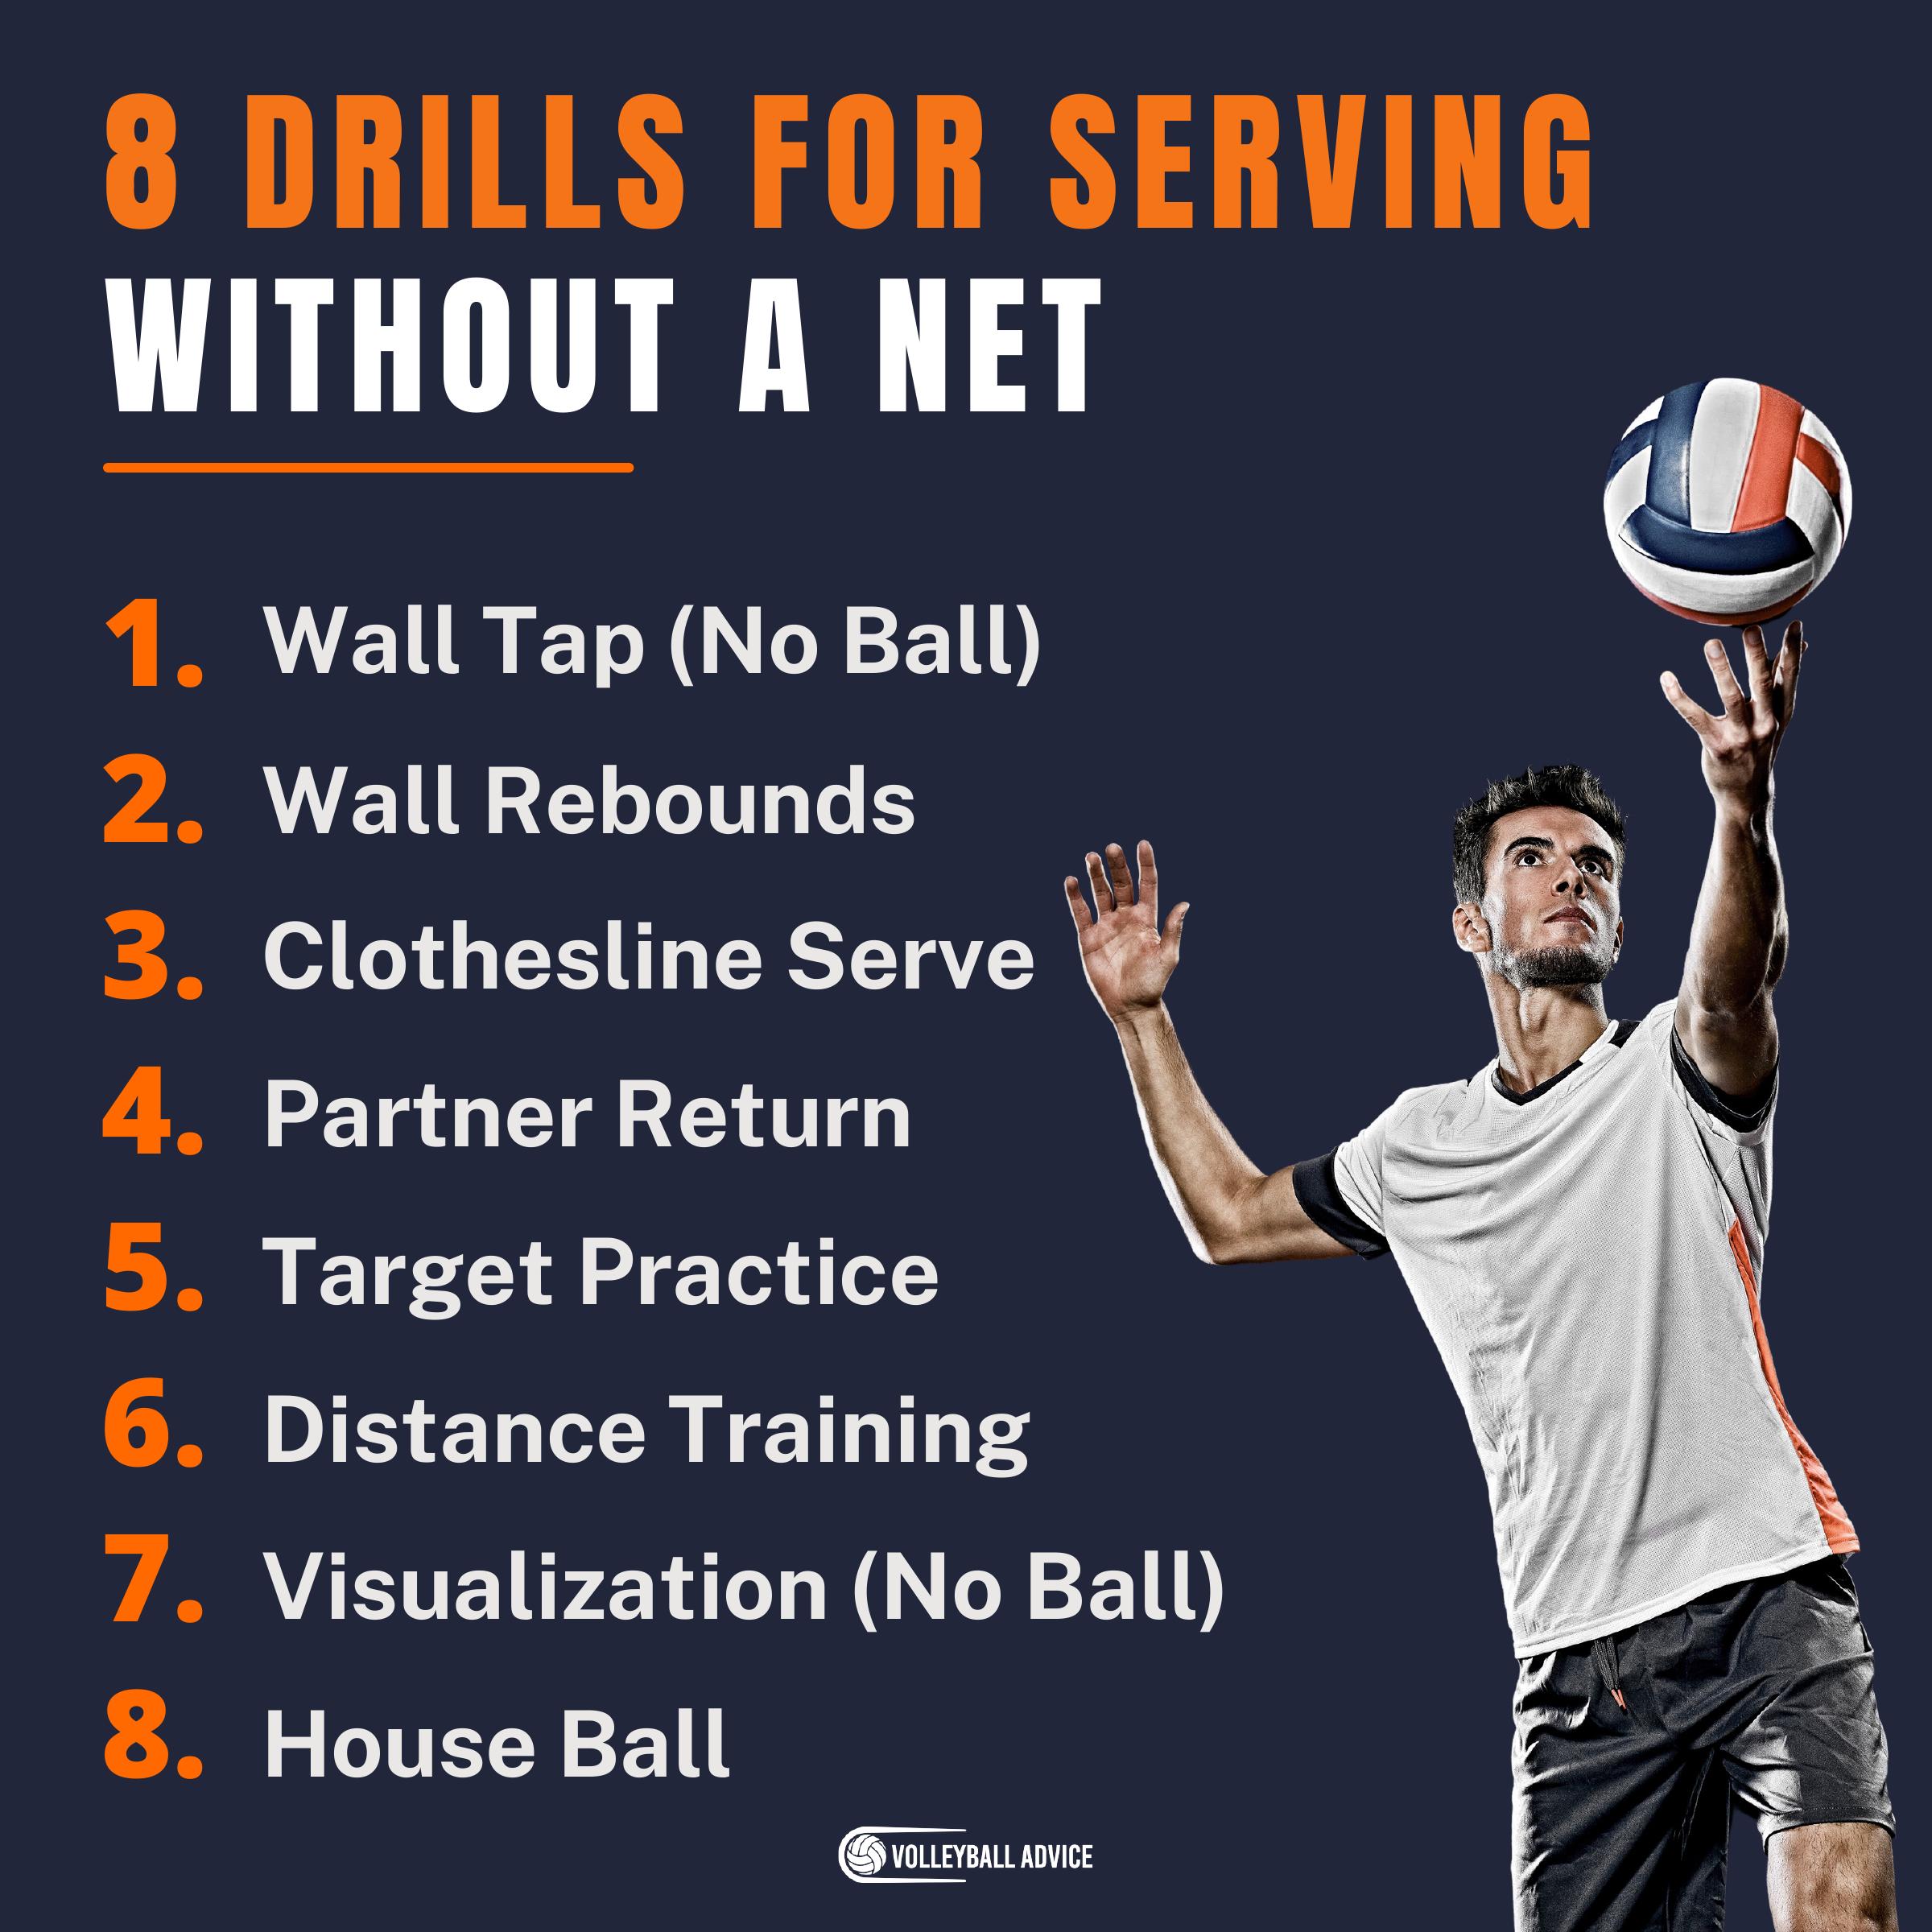
The 8 drills for serving without a net are:
- Wall Tap (No Ball)
- Wall Rebounds
- Clothesline Serve
- Partner Return
- Target Practice
- Distance Training
- Visualization
- House Ball
1. Wall Tap (No Ball)
This first drill is designed to help identify where to contact the ball when serving, and how. While useful for topspin serving, it is specifically designed for float serving technique.
The Wall Tap drill is very basic, and a good way to remind oneself of proper arm rotation and shoulder movement for serving.
How To
- First, stand near a wall. It should be about one foot away from your primary (serving/hitting) shoulder, and should not make you feel off-balance or cramped for space. If necessary, stand near a window or mirror to give the illusion of more space or a better view to see yourself practicing technique from.
- Next, move your body slowly through the motions of serving without moving your feet, ending when your palm contacts the wall.
- Freeze, checking your technique and stance, and press against the wall just until you feel that you make yourself off-balance, and hold.
- Retain this stance for ten seconds, then release. Work in sets of ten.
The Wall Tap forces a player to be acutely aware of their technique, and will make any flaws glaringly obvious by making the player move their feet or by causing discomfort. The player should address these and practice until it feels natural, which will give them a better serve.
It’s important not to contact the wall too far in front of yourself. Ideally, the palm should contact the wall directly away from the shoulder socket at a forty-five degree angle, above one’s head and in-line with the toes. The feet should not move throughout the sequence.
2. Wall Rebound
This drill teaches a player about power management and ricochet angles. This can be used for either topspin, float, or jump serving.
The Wall Rebound drill is also very basic, but does require a wall. The purpose of this drill is to serve the ball directly into the wall and have it return to their hands.
How To
- When first starting off, stand near a wall where you have both room to serve and a comfortable amount of distance to catch the ball when it returns. This can be anywhere from two to five feet, more or less, whatever works best for you.
- Serve at the wall, maintaining good technique and form throughout. Step through the ball if possible, or work that in during future practices. The ball should bounce off of the wall and return to your hands.
- Once you have received five good serves from yourself in this way, step backwards and continue serving.
- Work in sets of five, stepping backwards as each set succeeds.
This drill teaches power management as the ball will either drop too short or fly too far when hit wrong. Only a perfect serve, hit against the wall at the perfect height at any distance, will return as you wish.
It is up to the individual whether the “perfect serve” returns softly or like a laser shot, but both are acceptable. The player should not have to stoop or jump in any way to catch the ball.
3. Height Check
This drill teaches a player to get underneath the ball and to serve upwards, which is needed to get the ball over the net and into the other team’s court.
The Height Check can be done either against a wall marked with chalk, over a clothesline, or in reference to another positional mark of height. The object of the drill is to measure the height of the volleyball net, mark it, and serve consistently over that area from numerous distances.
Please note: this drill is much easier with a wall or a friend, as otherwise you will have to chase the ball each time before serving. While this will build good cardio, it’s not always sustainable.
How To
- As with the Wall Rebound drill, start close and step through the ball as you serve.
- Move backwards as you find success, working up to and beyond where the baseline would be on a normal sized court.
- Work in sets of five, and repeat if necessary.
For added difficulty, mark a one foot section above the top of the net somehow. This is the ideal place to serve, and is a good idea to start aiming for when practicing.
Related Articles:
- Practicing Volleyball Serving Without A Net (Drills & Tips)
- 10 Best Volleyball Games Without A Net
- Hand Positions for Volleyball Serving (3 Types)
4. Partner Return
This drill is a variation of the age-old game “catch”, and involves two (or more) partners serving the ball to one another.
How To
- This drill really speaks for itself, and needs no further explanation beyond that – obviously – a partner is required.
- It can be as relaxed or intense as both of you want it to be. You can stand close and share good vibes and banter while you serve, catching up on time lost, or stand super far away while firing cannons at one another. The choice is up to you.
While doing this drill, remember your technique and footwork. While this drill can be super fun, it’s still a chance to improve and get better.
5. Target Practice
This drill needs a large amount of space and something to aim with: this can be cones, water bottles, leaves, other balls, or anything else you can think of that make good targets.
How To
- To perform this drill, set up your targets randomly in areas in front of you, and attempt to land a serve on each while remaining in the same position.
- Whether this is a dropping float that truly lands, or a singing topspin that rockets both target and ball into the distance, the choice is yours.
This drill works on players’ accuracy and ball handling skills. Control is the name of the game, so keep score or time yourself, and try to improve every time. Increase the distance as you improve.
6. Distance Training
This drill also needs a large amount of space to perform, but instead of aiming for random targets you only aim for one area. The trick is, it’s very far away.
The goal of this drill is to push the limits of your serving and strive for more power, control, and precision over larger distances. Increasing your area of operative serving will allow you to hit anything, anywhere, anytime from within the service boundaries, and give you the confidence needed to succeed.
How To
- Serve as if in a tunnel, aiming straight ahead. I like to use a basket, like an old laundry hamper or unused ball cart as my target, and I usually prop it up sideways at an angle so there’s something to aim for.
- Start serving close to it and move backwards until you struggle with consistency, and work from there.
Push yourself to improve by moving backwards to new distances, but if you find it too far move closer and serve until you find consistency once again.
7. Visualization (No Ball)
This drill can be done anywhere, from in a classroom to in bed, outdoors hiking or in the rain, anywhere and always you have time to think. It involves picturing – visualizing – your serve, and working it through in your head.
My coach used to tell us that before we served we should imagine ourselves serving one hundred times. This wasn’t just superstition, though, and as volleyball is an incredibly mental sport this has real benefits.
Benefits
- First, it allows you to know and understand your serve intimately, and being able to visualize your serve from start to finish is a sign that you actually understand what you’re doing. Anytime that you forget something, or a motion doesn’t feel right, is a sign that you need to work on that specific bit during next practice.
- Second, visualization trains your brain to think of serving as natural, and succeeding as normal. In order words: there’s nothing to be nervous about if you’ve already made one hundred serves in your mind already, right?
Visualization builds confidence and literally rewires your brain to accept the movements and motions you’re making. This in turn changes the entire way it feels to serve, and vastly changes how it looks to anyone watching you serve.
The mind is a powerful tool at our disposal as players, but it’s also a muscle: it’s up to you to train it.
8. House Ball
Lastly, this drill is an exercise in control that is best left to players with a lot of comfort in ball handling already. The idea is that at this point, you can serve anywhere safely ‒ even within a house.
A kind of right of passage, this drill was popularized by coaches back in the day as “Baby Ball”, where every player carried a volleyball everywhere with them for a week. That means in class, on the way home, wherever they sat, and even when they slept the ball was nearby.
More than a bout of insanity, coaches knew that the players would become bored with their chore and start to toy with the ball, bouncing it and setting it to themselves to pass the time or as anxious ticks, ultimately learning ball control without even knowing it.
The same idea goes for serving . . . but I recommend practicing this one outside, for the sake of mothers’ nerves everywhere (again, sorry mom).
How To
- Find signs, trees, anything sturdy with a good surface to aim for, and serve off of it. The added consequence of missing and the novelty of new targets will help you improve.
Video Resources For Serving Without A Net
Other Volleyball Serving Resources
Final Thoughts
Practicing serving in volleyball without a net can be challenging, but it’s every bit as rewarding as the effort you put in. There are clear skills that are able to be worked on, and several useful drills that enable players to work well also.
The most important factor is whether or not you – the player – wants to practice. If you don’t, it’s not worth your time, and you should wait to train when back at practice with the team. If you do want to improve, however, there are clear channels to take, and success stories from those who came before.
Put in the time, and you’ll always improve.
About The Author
Ailan Samuel is a writer and athlete who has played volleyball at the university, club, and national level since 2012. He has competed successfully in both beach and indoor competitions, resulting in four silver and two gold medals, and was awarded the Half-Blue while playing in Scotland. He received his MA in English and Medieval History from the University of St Andrews, Scotland, and is currently studying for his MA in Publishing and Creative Writing at Bournemouth University.